Photobucket Photobucket Photobucket Photobucket

October 28, 2011

Halloween happiness!

My dear friend Renee (My Vintage Mending) shared earlier this week on her blog that she made me a special Halloween apron. When the package arrived, not only did it contain this sweet apron, it also contained so many other special goodies...

Just look at all these aprons!!
(I'm not loving myself in the pics, but the aprons are adorable)

Even Josie got a Wonder Woman apron!

Aside from all her homemade creations, she even tucked in this vintage apron!
(Which will be perfect for my apron wall in my craft room).

Aren't these the sweetest Halloween cookie cutters?

She knows I collect vintage party & craft books.

(I'm completely smitten with the images)

Linking up with:

She also made me this darling garland filled with tiny honeycomb lanterns. I have a craft room filled with vintage paper lanterns and I've never seen such delicate tiny lanterns before.

Too too sweet!
It will take a place of honor in my special room.

These Christmas ornaments will also be perfect on my feather tree.

I am sooo darn spoiled.
Thank you, Renee.

We're down to the wire with party preparations.

Photobucket

The next 24 hours will be spent setting up the carnival games and sorting prizes & preparing treats for Saturday night's BIG event.


I promise to attempt a video tour of our decor and party fun to share with all of you later.

Have a frightfully fabulous weekend!


Photobucket


Halloween hugs!

XOXO
♥

October 27, 2011

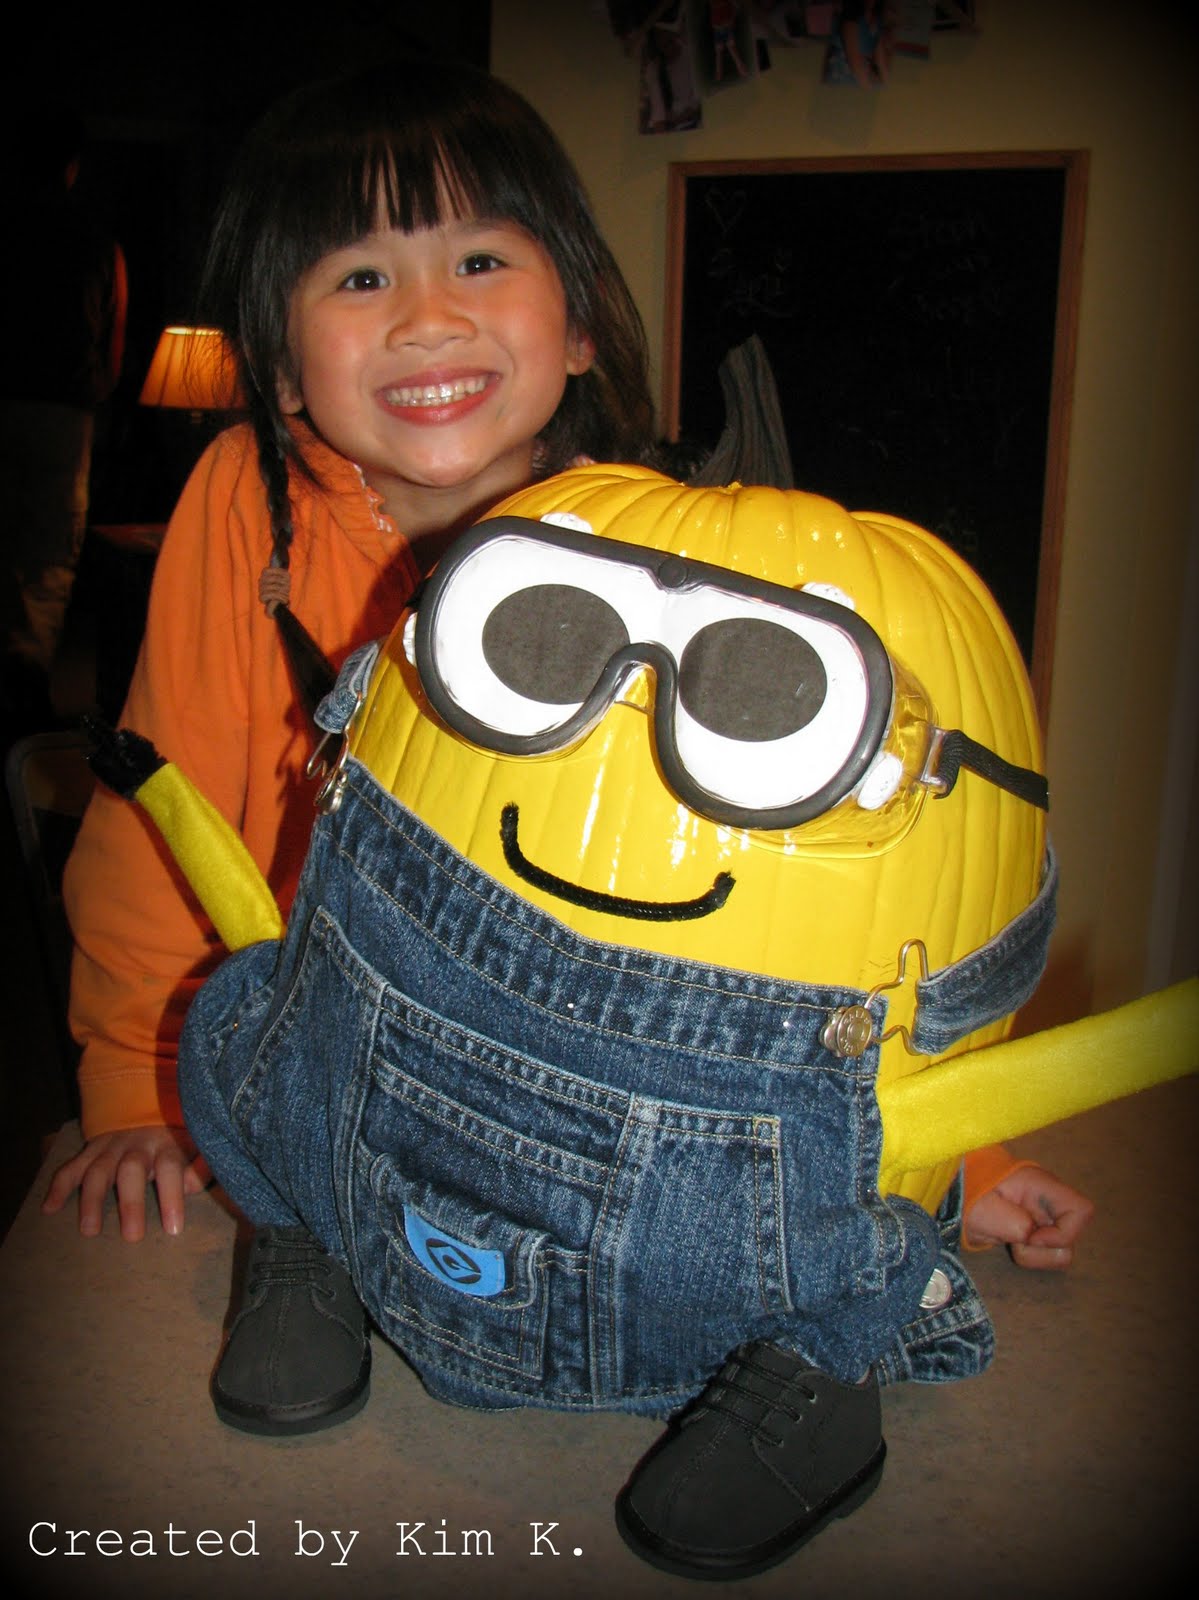
It's Despicable!

As you can imagine, both girls had loads of ideas on what they wanted to do for Josie's special pumpkin for her elementary school pumpkin contest. They finally decided that they wanted to recreate another minion based on the movie "Despicable Me".

You can't help but adore those little yellow characters and their silly language.

Remember this from last Easter?

Here's our version of a pumpkin minion...


Halloween hugs!

XOXO
♥

October 26, 2011

Whhhhoooooooo loves Halloween?

I love owls...especially at Halloween.

Today's post features my special feathered friends and suggestions for making Halloween party hats and treat cones.

Most of my owls came from my favorite antique store, World Market or Michael's.

I tend to buy them on clearance and them embellish them with glitter, special hats and candle stick stands purchased from thrift stores.

Behold... a few of favorite wise old owls...


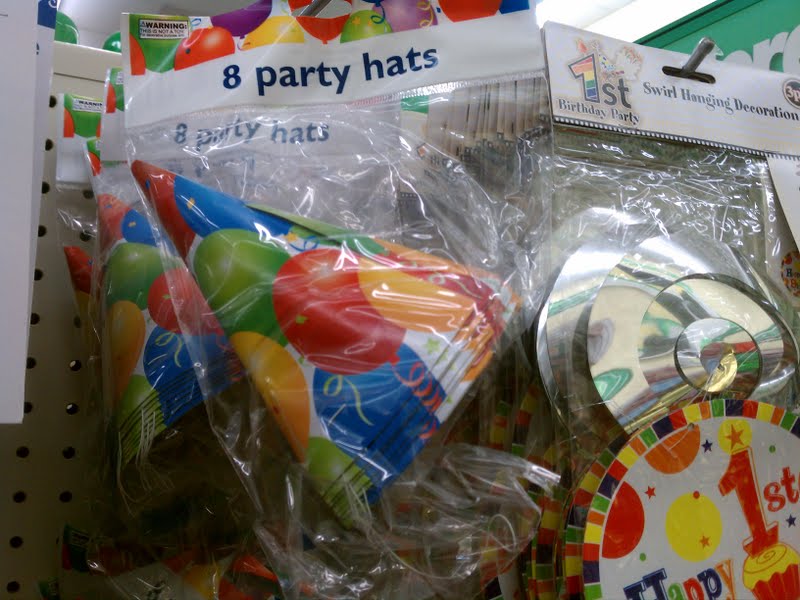
As you've noticed, my owls are all decked in out in their special party hats. If you'd like to attempt your own, here's a fairly easy technique for creating party hats using $1 store party hats as a template.

Supplies needed: scissors, glue, $1 store party hats, crepe paper, scrapbooking paper, stapler and pencil.

1. Remove the staples from party hat and trace the party hat onto decorative paper (I used Halloween scrapbooking paper).

2. Cut out the party hat tracing and staple (or glue) the hat back together to form the cone.

3. To make the crepe paper ruffle, draw a line of glue around the interior edge of the party hat and lay the crepe paper on top. Bunch by folding the paper to form a ruffle and continue working around the hat. This picture was taken from a heart-shaped box that I covered with crepe paper ruffles last February. It'll give you an idea on the technique I'm trying to describe.

Additional instructions and pictures for creating crepe paper ruffles can be found here.

4. Embellish your party hats with stickers, vintage images and shredded paper.

If you turn your hats upside down and add a ribbon, you can even use them to create treat cones.

In case you want to use this sweet vintage image from a 1932 Royal Neighbor Home Magazine, you can find it on this site.


Halloween hugs!

XOXO
♥

October 25, 2011

Garage makeover...

We've got a party deadline approaching and we're getting down to the wire with the garage transformation. In case you'd like to make your own haunted/castle-looking walls, here's an easy way to create a spooky effect with black plastic sheeting and left over paint.

Supplies: Black plastic sheeting (we used 2 bags @ 10 x 25), $1 store mop, old paint, and paint tray.

1. Give your self ALOT of space to work on this project.

Be sure to pick a rain-free day and clear off your garage floor. The plastic that we purchased was long enough that we had to spread it out into the driveway. Be sure to weigh down the corners so that your tarp doesn't blow away and smear your paint (speaking from experience).

2. Use your mop as a stamp and create rows of squares using the sponge and paint.

3. Don't worry about making your spacing even and then allow lots of dry time before hanging. As you can see, we tend to get the whole family involved in this project.

4. We have an unfinished garage and so we have several nails that hold up the plastic sheeting.

5. Add some fun lighting and a few props and you're all set with a fun backdrop for your party!


Happy soon-to-be Halloween!
Linking up with:
Terrorific Tuesday Blog Hop

XOXO
♥