I hinted last week about a special Christmas project I was making for my sister's birthday. As much as I love to craft, I didn't inherit any sewing skills from my talented mother. Please be kind. As a bonus, you even get to see a few pictures of myself and my little sis. Here goes...
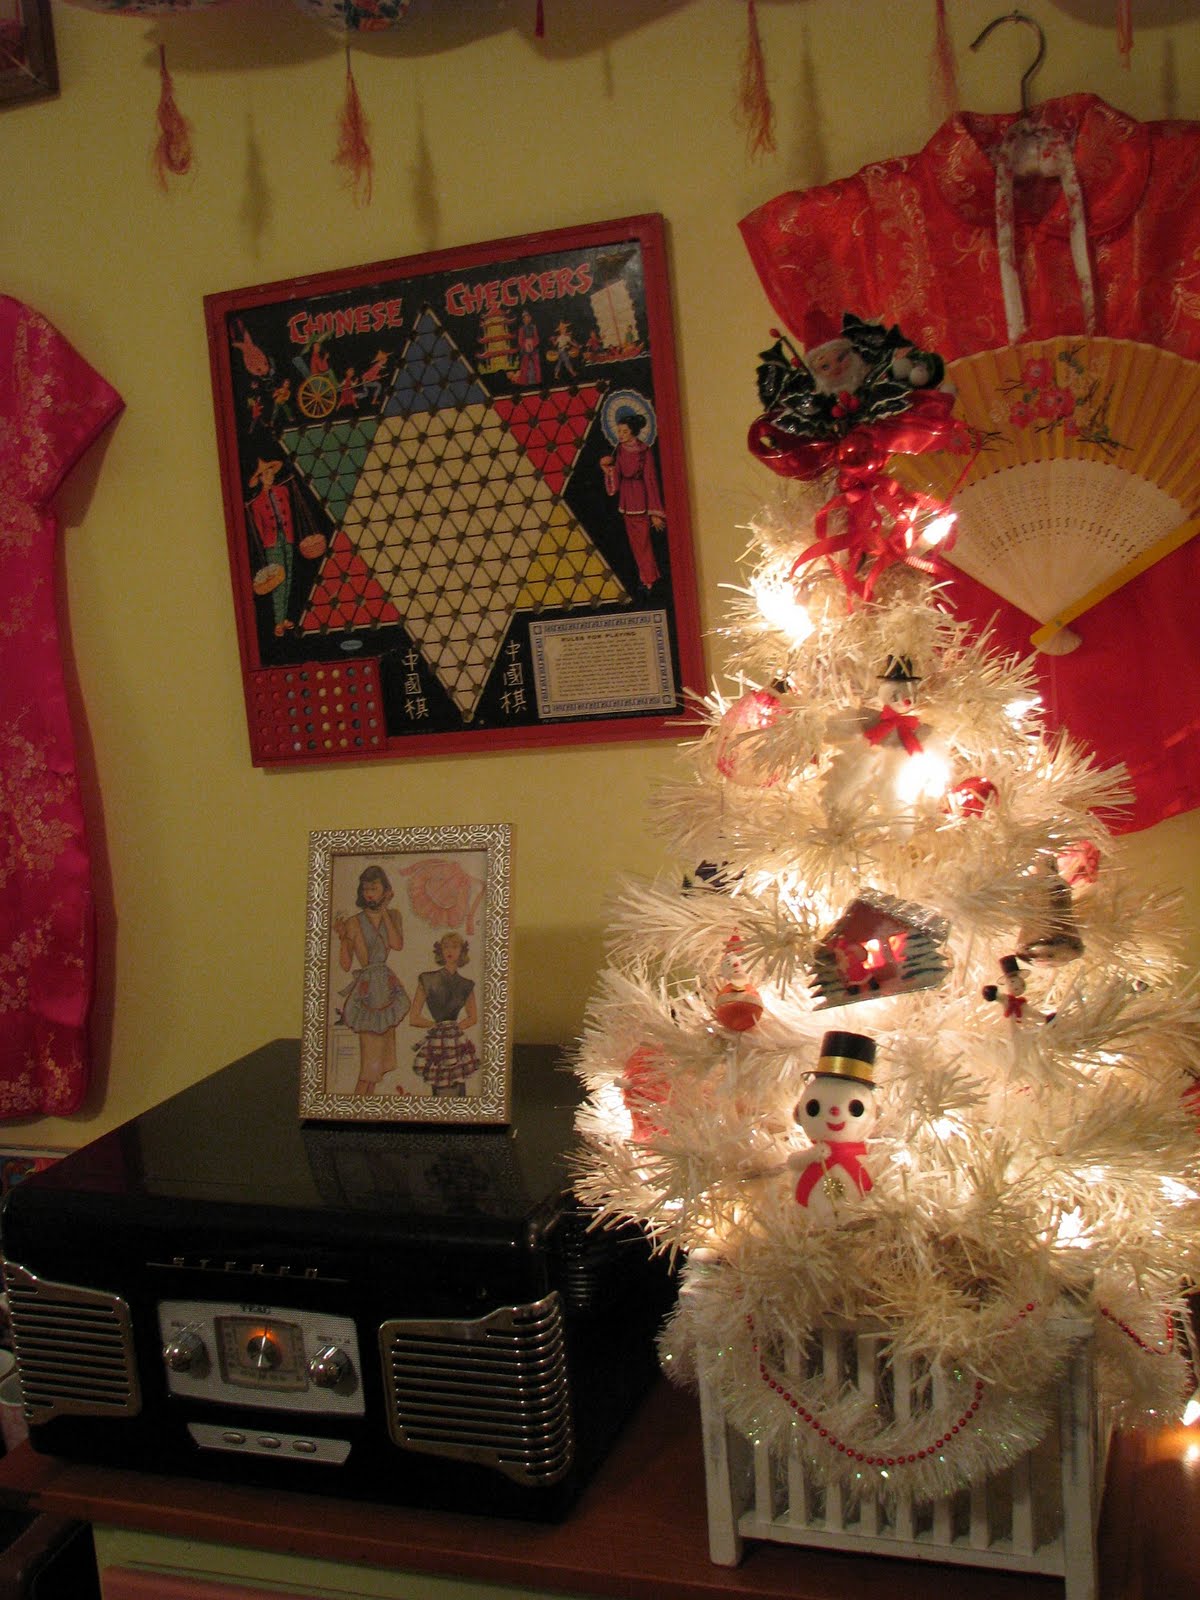
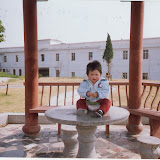
Growing up in the 70s, we had a tulle/netting Christmas tree that came out every year to decorate my shared bedroom.

(
note the tree in the foreground of our tea party)
They are a tad bit tacky, but when I saw one recently at my favorite antique store, I knew it needed to come home with me so that I could take a closer look and make one for my sister's upcoming birthday. My tulle Christmas tree instructions came from
this website.

Supplies:
4 yards of netting or tulle (I didn't use all of it, but it was close)
1 dowel 12 inches tall (you could buy 18 inch rod to have a taller tree)
1 Styrofoam circle base
hot glue
glitter
small ornaments
white crochet thread, needle and white paint

1. Make a hole in the Styrofoam base and insert dowel rod with hot glue. Let dry.
2. Paint the dowel rod white and let dry.

3. Cut two pieces of nylon net, each 12 inches wide and 72 inches long. Fold in half so that the net measures 6 inches wide and 72 inches long. Thread your needle with an 80-inch piece of crochet thread. Tie a knot in a piece of crochet thread, leaving a tail of about 3 inches on the end.

4. Baste the two sides together 1/4-inch above the fold. Once the net is basted, gather the fabric as tightly as possible so that the net forms a donut shape. Tie the two thread ends together to keep the net in a tight circle. Use the hole in the middle of the net circle to slide it on to the dowel. Repeat with the second piece of 72-inch by 12-inch fabric.

5. Make the next two layers 11 inches wide by 72 inches long. Repeat the same process of folding, basting and gathering. Reduce each subsequent pair of layers by 1/2 inch. The final two layers should be 1/2 wide by 72 inches long.

6. Use your fingers to fluff the layers of fabric into the desired shape. I then used glitter glue on the edges of the tulle.
The whole time I was making the tree, it reminded me of a ballet skirt. You really could turn this into a darling tulle tree with pastel flowers and other romantic items.7. I finished the tree by sewing tiny bead ornaments to the tulle and attaching a vintage angel to the top of the tree.

 * This craft was a stretch for me. Threading a needle completely takes me out of my comfort zone. I almost hate to admit how many phone calls I made to my mother during this project. It's really not hard, I'm just a sewing wimp.
Happy Birthday, little sis!
I hope you love your tulle tree!!


 In one of my favorite scenes, Elf decorates the department store with an elaborate display of paper snowflake chains. This craft project is our own version of Elf's paper snowflake chains.
 Supplies:

 2. Tape a Christmas ornament hook onto the back of each paper snowflake.
 3. Suspend garland and attach snowflakes.
 4. Stand back and admire.
 Happy Crafting and Merry Christmas!