


Photobucket Photobucket Photobucket Photobucket

April 5, 2011

It was a good day...

It's always a special day when my mom and sister can join me for antiquing & thrifting adventures. If those full-time jobs and distance between our houses didn't get in the way, we'd be shopping together more often. I came home with tired feet and several bags. I'm one happy girl.

My sister loves vintage flamingos and I had to snap this shot of her with my cell phone. You can't help but think of fruity umbrella drinks when you see pink flamingos!

Love ya, sis!

I found this dollhouse furniture under a bag of doll clothes.

I love the green and pink tones.

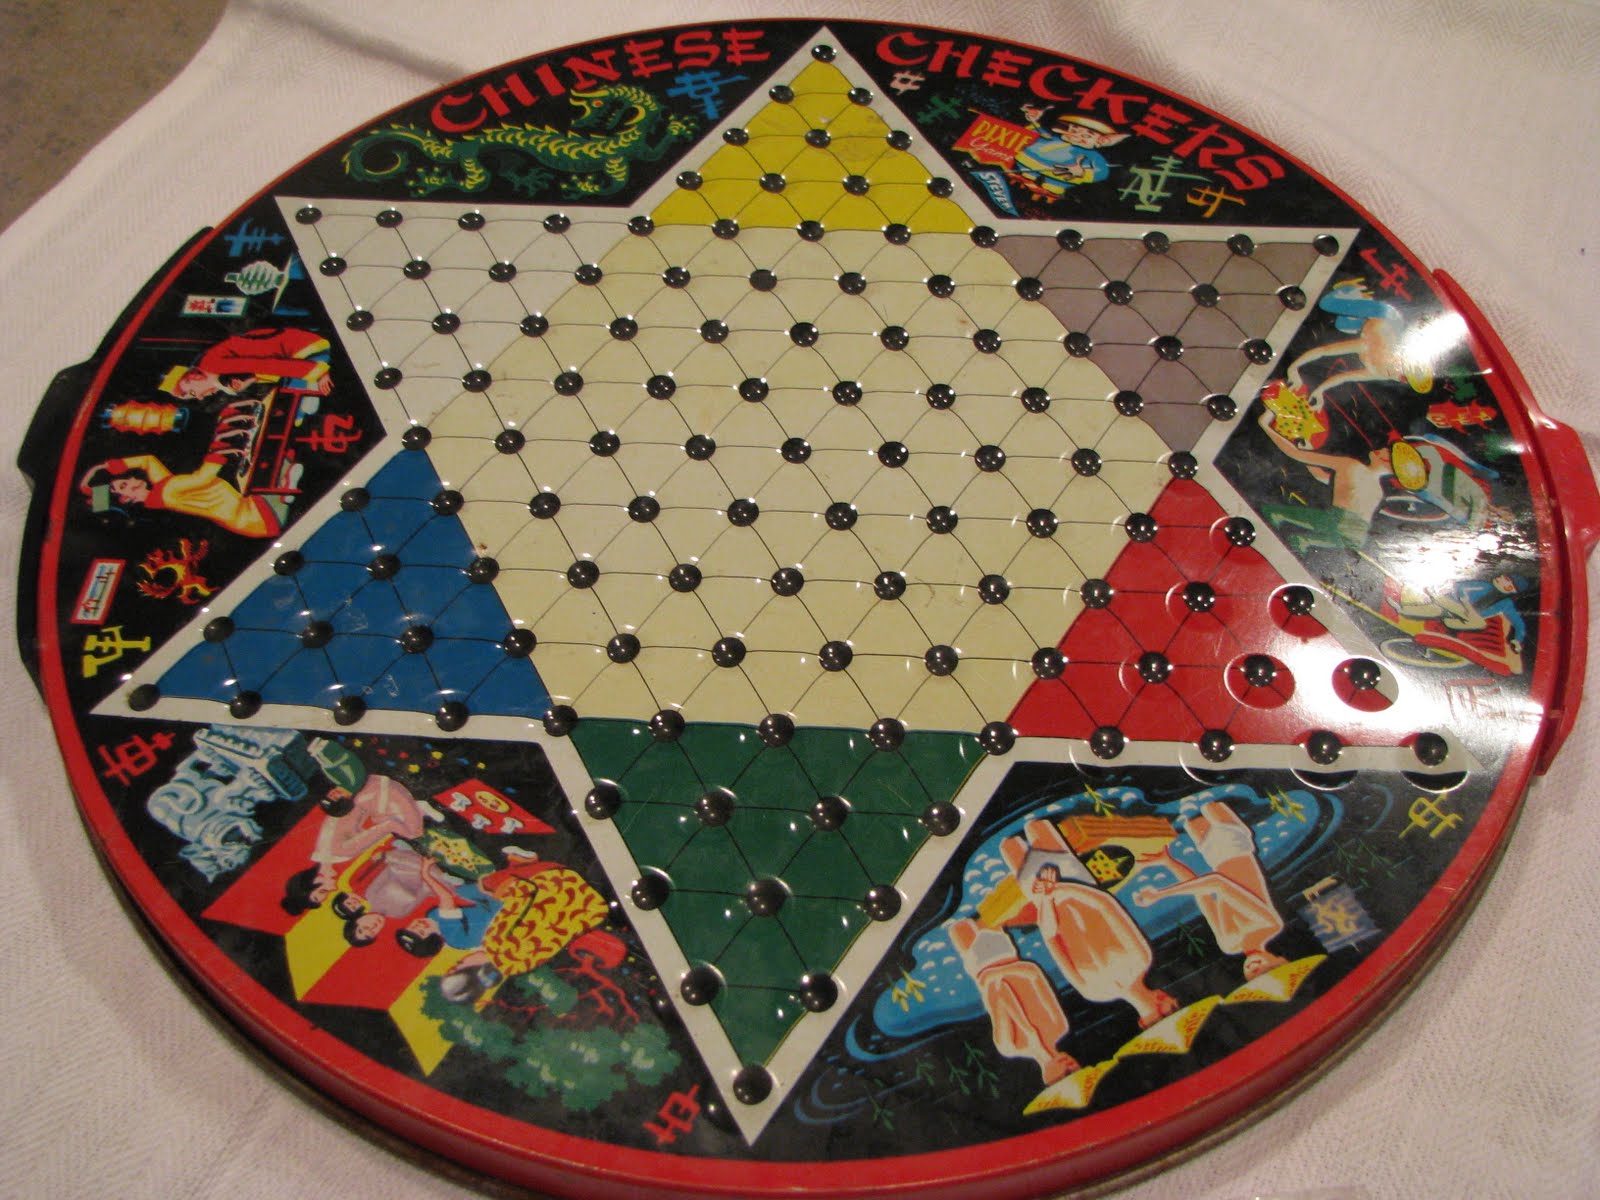
I also scored another Chinese checkers for my collection.
I also grabbed this box of vintage puzzles.

The kitty with the sailor cap is my favorite.

I also picked up this unfinished quilt for $2.

I'm thinking of framing the individual pieces to hang in the treehouse.

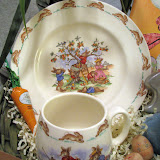
I also managed to find a few bunny related items too.

You'll notice a pattern with my finds...mostly vintage toys with fun graphics.
There are even more goodies.
I'm almost embarrassed to admit that.
Looks like I'm going to have to arrange my craft room for maximum display.
It was a great day!

Linking up to It's A Very Cherry World: Rednesday!
and Vintage Thingie Thursday from Coloradolady
and Blue Creek Home: Treasure Hunt Thursday
The Thrifty Groove : Thrifty Things Friday
XOXO
♥
Bunnies & Houses...


The bunnies and bunny house tutorial is something I posted last April and is worth repeating.

These bunnies are made out of wooden beads that are hot-glued together and painted. I found my wooden beads at Hobby Lobby, but they are available at all craft supply stores. They come in bags of 12.

Supplies needed:

Wooden beads (1 large round wooden bead, 1 medium wooden bead, 1 wooden heart).
hot glue gun
White paint, black paint, pink paint
Paint brush
Embellishments (such as tiny flowers, cup cake papers, ribbon..etc)
White felt
Fine point black marker

Step 1. Hot glue the wooden beads and heart together. The heart becomes the base/feet of the bunny.

Step 2. Paint the beads and hearts with white paint.

Step 3. Set aside to dry. We waited around 20 minutes and put them under a fan to speed up the drying process.

Step 4. I took the end of my paint brush (the round pointed part) and dipped it in black paint to make eyes on our bunnies. Using a slightly smaller brush, I did the same thing with pink paint to make a tiny pink nose. I used a fine point black marker to draw on their whiskers and mouth.

Step 5. Using cupcake baking cups, I cut them apart to make a skirt on our bunny. One cupcake baking cup makes at least 2 skirts. I also glued tiny flowers and ribbons to embellish our bunnies a bit further. I used white felt to make ears and then glued them on our bunnies.

Isn't she sweet?

We had so much fun, Emma and I constructed a whole bunny family. These bunnies would look cute as a table display for Easter brunch or dinner.

Our bunnies needed a sweet little dwelling and using a wooden CD holder available at Michael's, I made a little house with some paint, scrapbooking paper and a few embellishments.


My original thought was that I was going to give it to Josie for her little price little people to take up residence because it's the perfect size and can easily be transported.

However, our bunnies moved in first.
As you can tell, I had fun decorating the interior.

I used this same idea to make Josie a gingerbread house at Christmas.

Everyone deserves their own little house...or TWO!!
Or, if you are me...several dollhouses!
Which is another post for another day.

Happy Crafting!!
Happy soon-to-be Easter!

Linking up to Whatever You Want Wednesday at Free Pretty Things for You
and Sugar and Dots: What I Whipped up Wednesday
and Crafty Soiree #32 Easter Ideas
and Rook No. 17: A little Birdie Told Me
and At the Picket Fence: Inspiration Friday
and Sun Scholars: For the Kids Friday #6
and Someday Crafts: Easter Party Link

While I'm off this week, I'm take a girls day to do some shopping with my mom and sister. We're hoping to hit at least eight antique and thrift stores. I'm keeping my fingers crossed to come home with some fun vintage goodies. Stay tuned. My cell camera is going to get a work-out.

XOXO
♥

April 4, 2011

Vintage Board Games...

Before we hit the road for our weekend roadtrip to Detroit, I stopped at our local Goodwill to drop off another clothes donation. I managed to find a couple of board games to add to my collection. I love the graphics from this Clue game.


I found this game for Josie and she had fun filling the picture templates with colored pegs.

These are few other games that I have in my craft room.

They were at my grandparents home and I remember playing them with my sister on weekend visits.

My craft room has one wall devoted to Chinese checkers. I collect them for their fun graphics and Asian theme.

Now, that we are back home and officially on spring break, I'm looking forward to playing a few board games with my girls this week....along with crafting, thrifting and shopping.

Happy Monday!
XOXO
♥

April 1, 2011

Welcome April!

It's a new month and so it's time for a new blog makeover.

Even though my Kookie Wabit is gone from blog banner, I promise to continue sharing Easter crafting projects and decor. I'd love to say that these tulips featured in my banner are from our yard, but West MI won't see flowers like this until May. Yippee for grocery stores that sell fresh flowers! April showers bring May flowers!!

I've got loads of crafting ideas to test out with the girls over our spring break next week. My craft room is going to get a work-out!!

We're also hoping to finally start working on the interior of the tree house (as long as the electrician really shows up and Chris can then start on the insulation).

The treehouse interior is not finished at this point.
These are a few of my inspirational photos.

We won't have a white daybed, but Chris is building a loft.
Chris is also going to fully insulate the treehouse.
I really like the idea of using antique white throughout
but having colorful accent pieces.


Aside from crafting, I'll be squeezing in some antiquing and thrifting while I'm off from work. My excuse is that the treehouse needs a few decorations and furnishings...hee hee.

Have a crafty/thrifty weekend!
XOXO
♥

March 31, 2011

My other half and his crafty side...

My husband is very patient of my holiday decorations and frequent side-trips to antique/thrift stores.

What most of my followers don't know, is that he grew up working at the now defunct Frank's Nursery & Crafts.

Not only does he have a green thumb (and can provide you with the Latin names of most plants) but when I first sought him out in college, it was because he had a full size fully decorated Christmas tree in his dorm room. I could see this glorious tree from my dorm room window and knew I needed to find the owner.

Yes. That's my elbow.
The rest of my body is attempting to dance.
It was college. Enough said.

He might not join me in my craft room, or even know how to use my glue gun.
But he can help pack and unpack holiday decorations like nobody's business.
He can also bring a dead plant back to life.

He's also gotten pretty darn good with a table saw and nail gun.


Love ya, honey!
I especially love your K-12 work schedule and Mr. Mom status!

PS. As much as Chris is handy, we're paying an electrician to hook up the treehouse.
No more scary power cords running from our house to the treehouse.

As you can imagine, I'm already plotting out the interior!
I had to throw a spring wreath on the door in celebration!

XOXO
♥